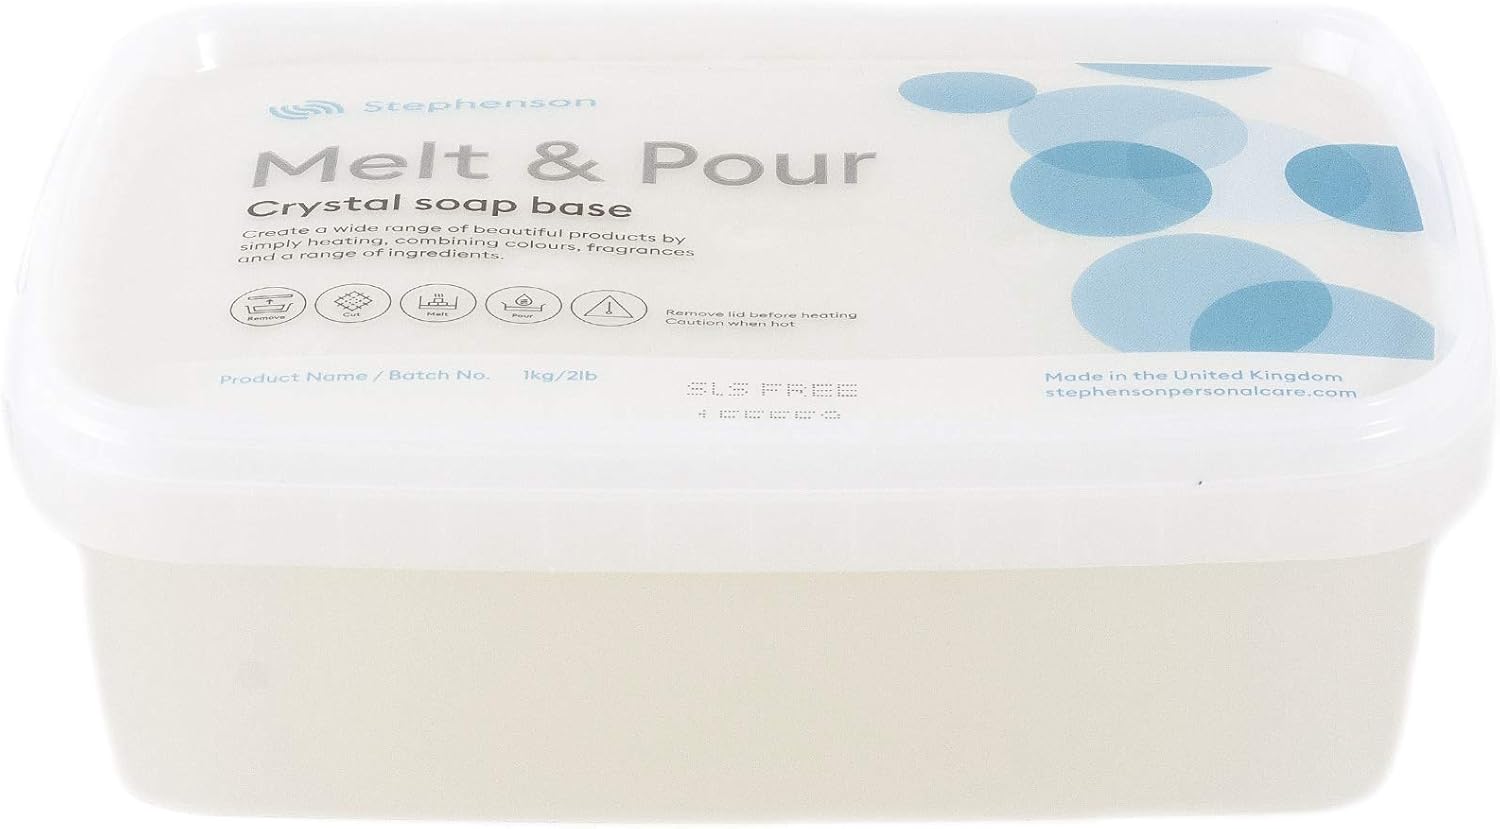
About this deal
Tip... To avoid 'bleeding' of colours into each-other, use a 'pigments' rather than dyes. Pigments have a larger particle size and are generally not water soluble, so will not bleed their colour. Alternatively, choose a specific colouring system like Zenicolour 5, made for the purpose.
Use little quantities of colorant if you really want to keep your soap highly transparent. More than 1/16 of a teaspoon, depending on the colorant, and the soap becomes opaque. The best way is to add very little colorant at a time until you are satisfied with the color and soap transparency. Results: This is a more yellow-tinted soap because of the rice bran oil. Nice lather. This one felt the best once rinsed-off. No tight feeling on skin. I have to say that this is my favorite…even if it isn’t crystal clear. I might try this one again and bump up the solvents. Not the best picture but you get the idea. It looked a bit cloudy to me so I cooked for 30 more minutes and tested again. Liquid Glycerin (not glycerin soap!) – This is a great solvent to use in transparent soap. Glycerin is a humectant and moisturizer for the skin. And like I mentioned above, since we use a 0% superfat, glycerin acts as a superfat. Swiss Roll' loafs are also easy to achieve. Find a suitable loaf mould and measure the length. Pour a sheet of coloured soap and cut it to the same width as the mould is long. Let the sheet set for a while and whilst still soft, roll it up loosely (or lay 2 or more different coloured sheets on top of one another and roll together). Place the roll into the loaf mould and carefully pour the clear soap base into the mould, slowly, allowing it to flow between all the gaps in the roll. Let set and slice for best effect.All handmade soap is glycerin soap, as we know now, including what we know as glycerin soap (clear soap). On the other hand, commercial soaps usually use synthetic detergents or see their natural glycerin removed, becoming non-glycerin soaps. Non-glycerin soaps are more drying and less mild to skin, because glycerin acts as an humectant, trapping moisture in your skin. Therefore, glycerin soap, or any handmade soap, is usually better than non-glycerin soap. Step 16– After 24 hours un-mold. You can un-mold it as soon as it hardens, which is usually less than 24 hours.
Now pour your glycerin soap into the molds. If the base cools too much and gets chunky or stiff, remelt it and stir. Let the molds sit until the soap is completely cool. Some recipes use oils as addictives (superfat). With this, I did have bad experiences, with the oils separating from the soap base, therefore, I don’t advise it. If you make the soap base at home, add your superfat when making the soap. Use Mendrulandia soap calculator to adjust oils and lye water quantities. However, my soap base recipes already have a superfat of 5%, so you don’t really need to worry about it. If you are purchasing your soap base, follow the manufacturer’s instructions about addictives, and see if you can add an oil or butter. Simple food colours can easily be used, as can liquid soap colours and other water-soluble liquid colour bases. Obviously the depth of a particular colour is dependent upon how much is used. Don't be tempted to over-colour your soaps, especially if using clear soap bases, as the transparency of the finished soap will be affected if too much colour is used, plus, coloured lather in use is off-putting. Fragrance can be added either using essential oils or simple fragrance oils, which are available in a huge range of tempting fragrances these days. Again, strength of fragrance is dependent upon the amount added. For a meaningful fragrance, around 20ml fragrance per Kilo of soap (2%) is sufficient, so a few drops per single bar is fine. As a guide, a maximum of 3% fragrance addition is generally advised. Irridescent powders or glitters may float or sink to the bottom of a mould depending on their make-up, so a suspending base may be helpful if you want to avoid this. Also, glitters and sheens can become lost if too much is added, so be sparing for best results. Warning! You do use alcohol in this process so be aware of open flames or anything that might ignite the fumes. I went so far as to blow out the gas starters on my stove since I was making this in my kitchen. I opened the patio door so that I had fresh air at all times. Make sure you have a fire extinguisher on hand (a bit dramatic, but you should have one in your kitchen anyways). When creating a transparent soap recipe, choose at least 75% hard oils (coconut oil, palm oil, tallow, lard, stearic acid). All of the solvents added can soften a recipe that contains lots of soft oils. Include castor oil in your recipe. Castor oil is a bit of solvent so works well in transparent soap.Be sure to wrap your soap up or it will sweat…especially batches 5 and 6, that use a higher amount of solvents. I formulated my recipe using a 0% superfat, as unsaponfied oils can create cloudiness. The added glycerin acts as a superfat in transparent soap. For more vibrant, stable colors, go for mineral colorants: ultramarines, iron or chromium oxides. These mineral colorants for soap making are still considered natural ingredients, even though they are manufactured to make the minerals safe (by removing harmful heavy metals). Solvents are what make the magic happen. They dissolve the soap crystals that normally form when combining sodium hydroxide with fatty acids (base oils). Solvents include alcohol, liquid glycerin and sugar. You can use one, or for best results, try a combination. Ethyl (Ethanol)– This type is best for transparent soap, but it is also more expensive. Denatured alcohol is a type of alcohol that you can find at the hardware store. It has a poison added so that people don’t drink it. You can use denatured alcohol in transparent soap. Everclear (from the liquor store) is another type of ethyl alcohol. Look for 190 proof (95% alcohol) for best results.
NOTE: If you’re making a batch of high-solvent content, add half, blend until clear and then add the rest. (Do this for batch 5 & 6.) If you add all the solvents up front, it takes awhile to come together. Use your transparent soap as-is or use for embeds! Here is what mine looks like. Not perfect, but I love it!Once you have your clear soap base ready, the next step is to personalize it with colors, fragrances, and additives. You can incorporate natural colorants such as clays or spices like turmeric or paprika. Beware, the color of some of these natural ingredients will fade with time. Whatever you are doing, the most important thing to remember is not to overheat your soap base. You need only heat it until it melts and no further (exceptions to this rule are the Natural or Organic bases which should be heated to 75degC to avoid 'blooming' in the finished soaps). Cutting the soap base into small chunks will help this, especially if using a microwave, although small chunks will melt far easier with any method used, so it's worth the time in doing this. At this point, I’m not really getting the crystal clear results that I’m looking for. So, let’s bump up the solvents!
 Great Deal